There are two ways to add text to your Print Calendars:
- As free-floating text boxes (i.e., text that can be dragged-and-dropped to any location on the page)
- Within empty cells on the calendar
To add a free-floating text box:
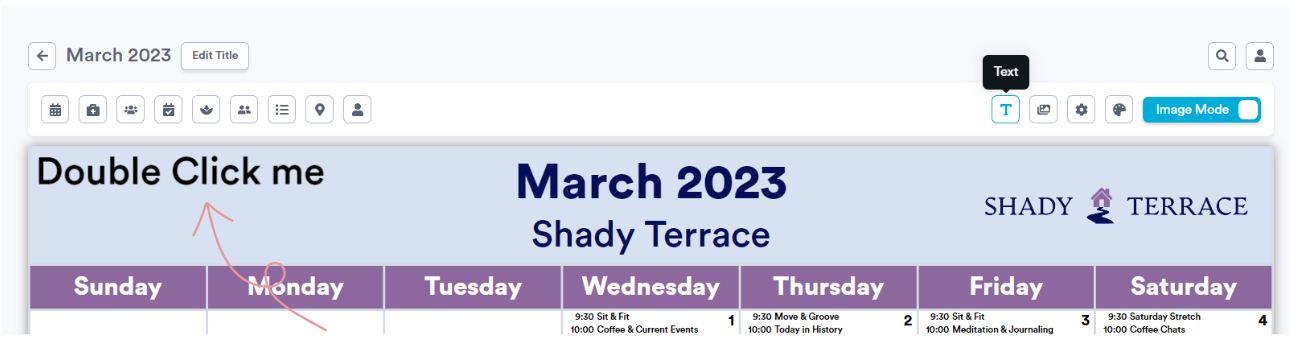
- Click on the "Text" button located near the top right side of the toolbar. This will add a text box to the top left corner of your Print Calendar reading "Double Click me".
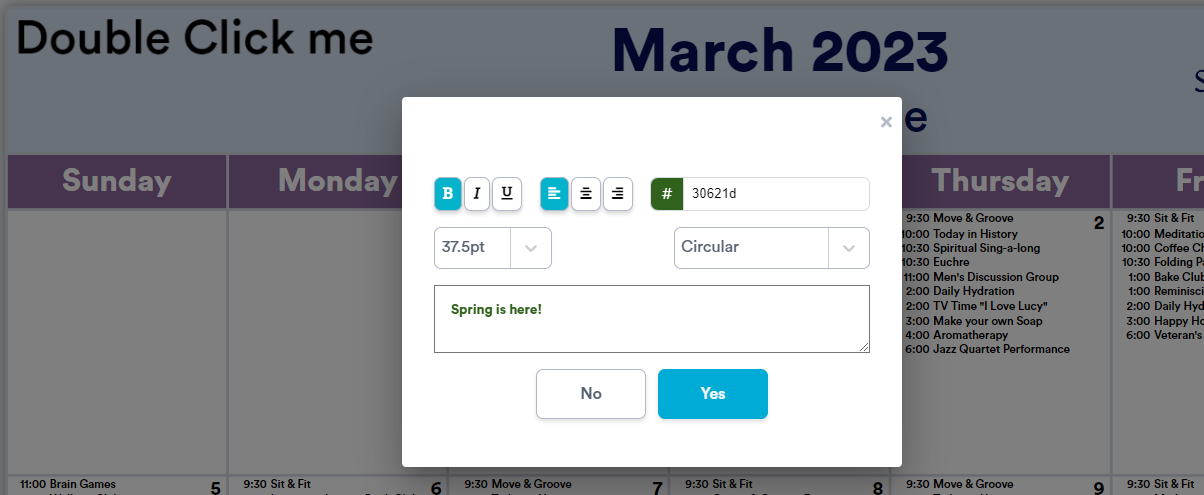
- Double-click on this text box to edit and style the text as you wish. Click "Yes" in the bottom right corner of the editor pop-up when finished.
- To resize or move the text box, single-click the text box to select it and move it around the page by dragging and dropping. You can resize the textbox by dragging the corners.
Note: If you're adding text boxes to a Daily Calendar, these text boxes will be on every page in your chosen date range.
When you add a free-floating text box using the steps above, you'll notice that you are automatically toggled into "Image Mode". When you are in "Image Mode", you are able to select and modify your free-floating text boxes and images but will not be able to select or modify the contents of your calendar cells. 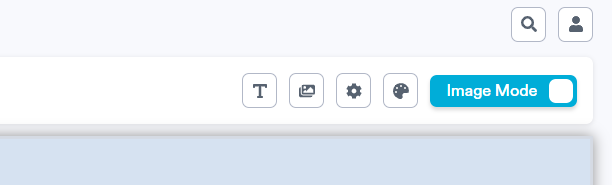
To add text within a calendar cell:
- Toggle into "Cell Mode". This mode allows you to click into and modify your calendar cells.
- Click into the empty cell you would like to add text to.

- In the "Cell Content" pop-up that appears, select “Message” from the drop-down menu. Enter your desired message and format it as you see fit.
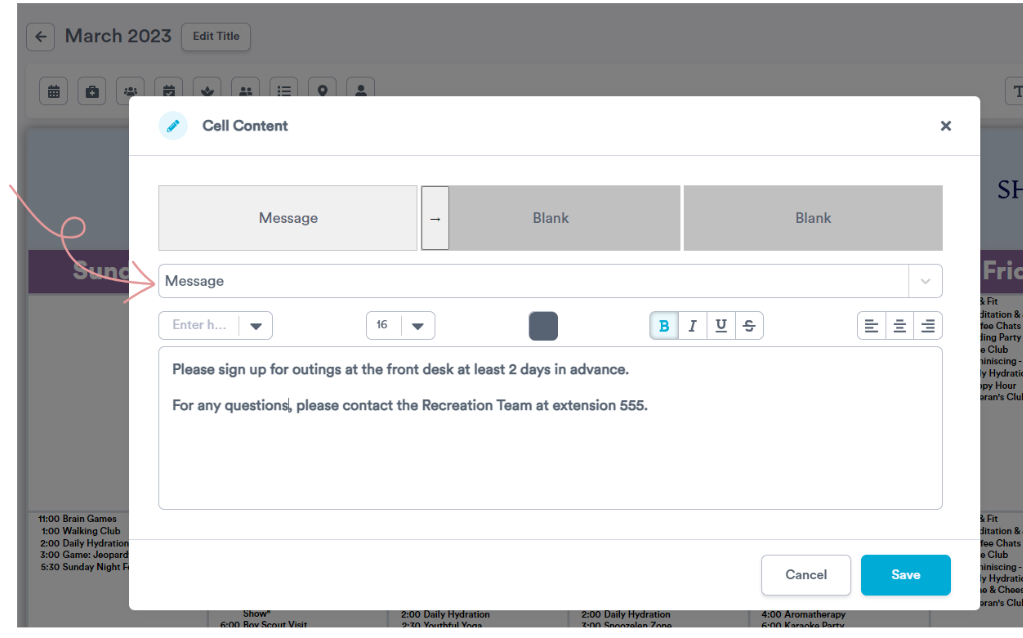 If you'd like your message to span across several cells, you can merge across cells using the arrow button as shown below:
- When finished, click the "Save" button in the bottom right corner of the pop-up.
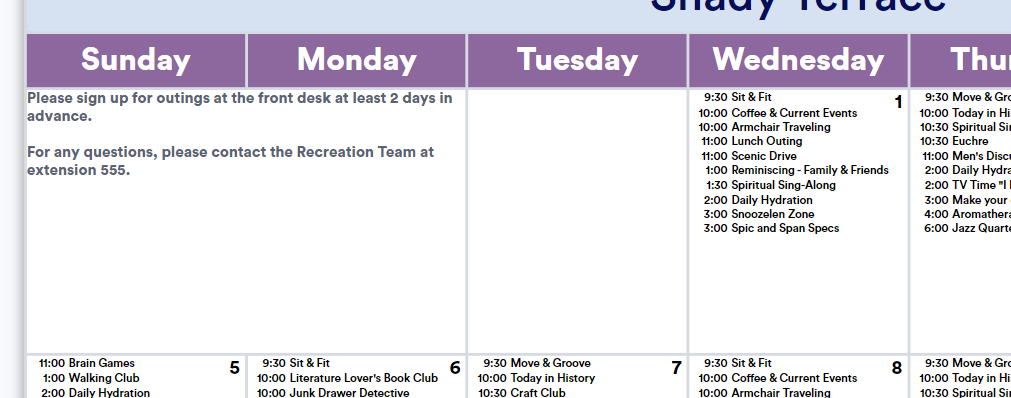
Your message will now appear within the cell. If you wish to further edit the content or formatting of your message, click back into the cell (while in "Cell Mode") and make your desired changes.
To remove a message from a cell, click into the cell you wish to edit (ensure you are still in "Cell Mode") and select "Blank" from the drop-down in the "Cell Content" pop-up.