Resident Posters allow you to create and print personalized posters for each of your residents based on the information entered in their Profile. These posters can be referenced by team members to quickly get some background information and help them connect with residents on a more personal level.
To create a new Resident Poster:
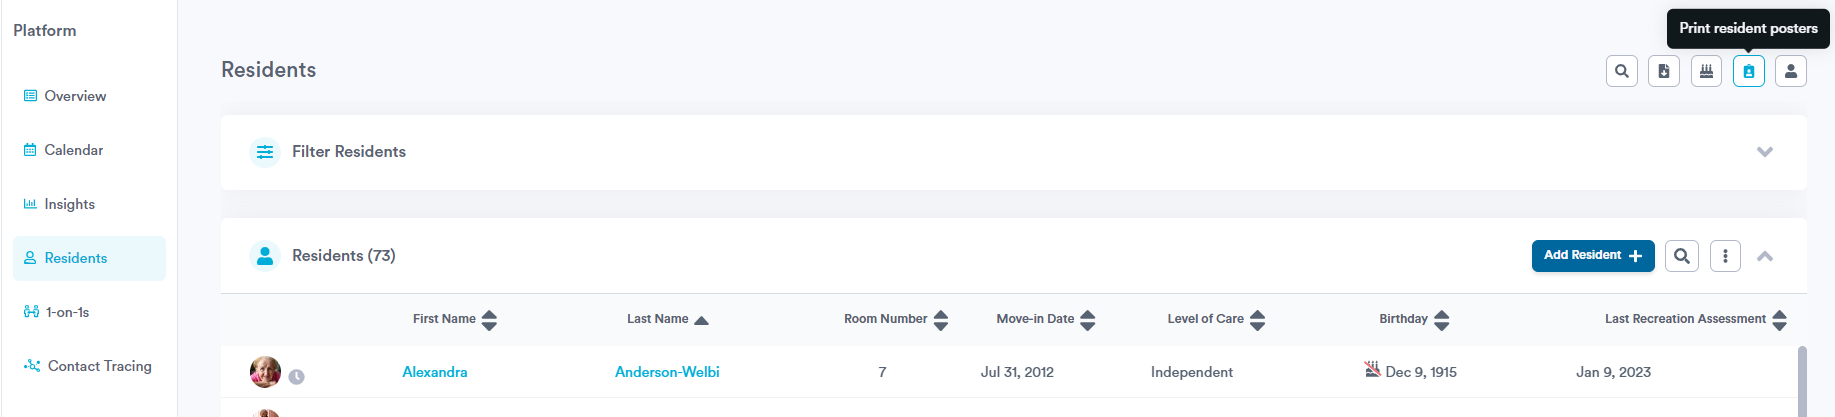
- Navigate to the Residents section of the platform and click on the "Resident Poster" icon in the top right corner of the page.
- In the pop-up that appears, click on the "New Poster" option. This will open a blank Resident Poster template.

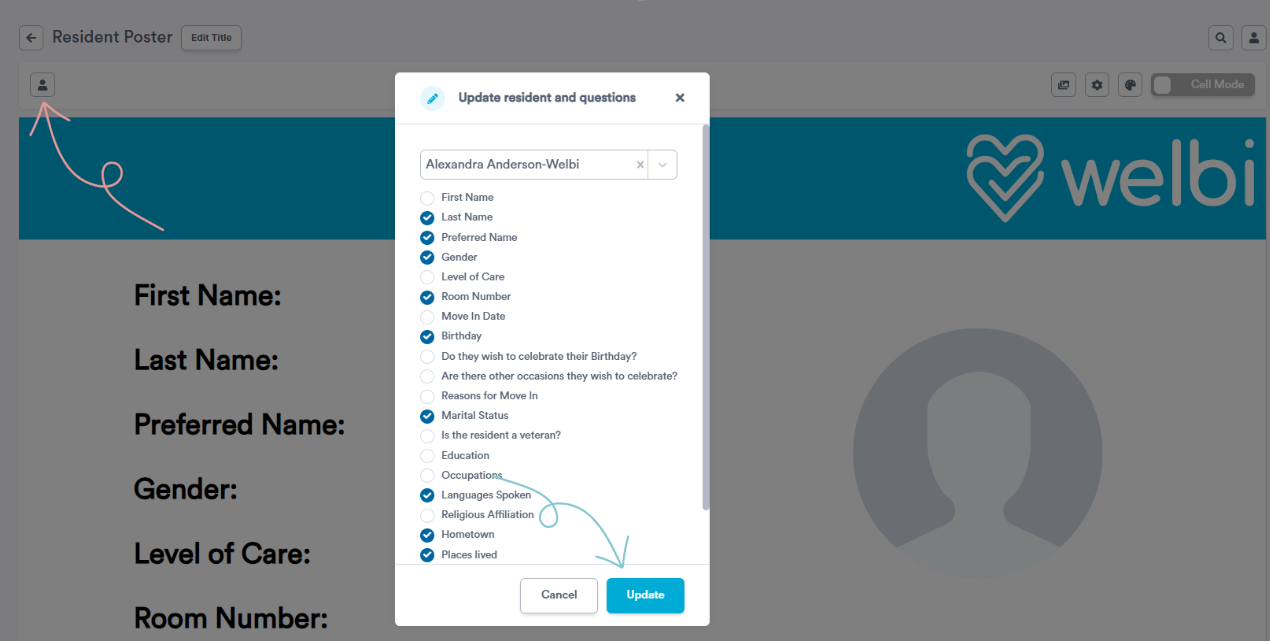
- Click on the icon located in the top right corner of the page (shown below) to select the resident you wish to create the poster for and the Profile questions you wish to include. Once you've made your selections, click the "Update" button. The poster will automatically update to display the chosen information for the resident you selected.
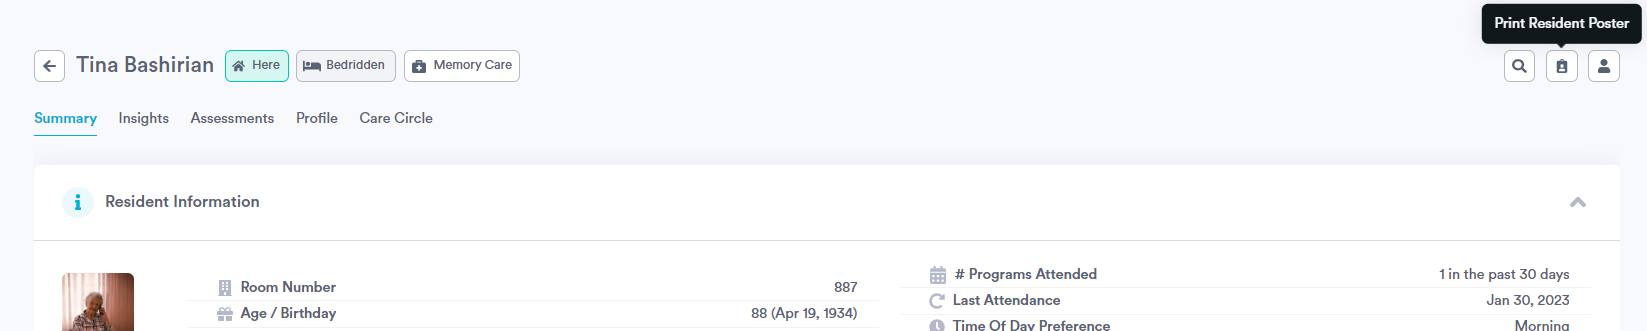
Note: You can also create a resident poster by clicking the "Resident Poster" icon while viewing a specific resident in Welbi. If you create a new poster this way, the resident you were viewing will already be selected.
The following aspects of a Resident Poster can be customized to better reflect your resident's personality or interests. Each aspect has a dedicated section below.
- Poster Title
- Poster Content
- Free Floating Images
- Settings
- Colours
- Cell Content
1. Poster Title
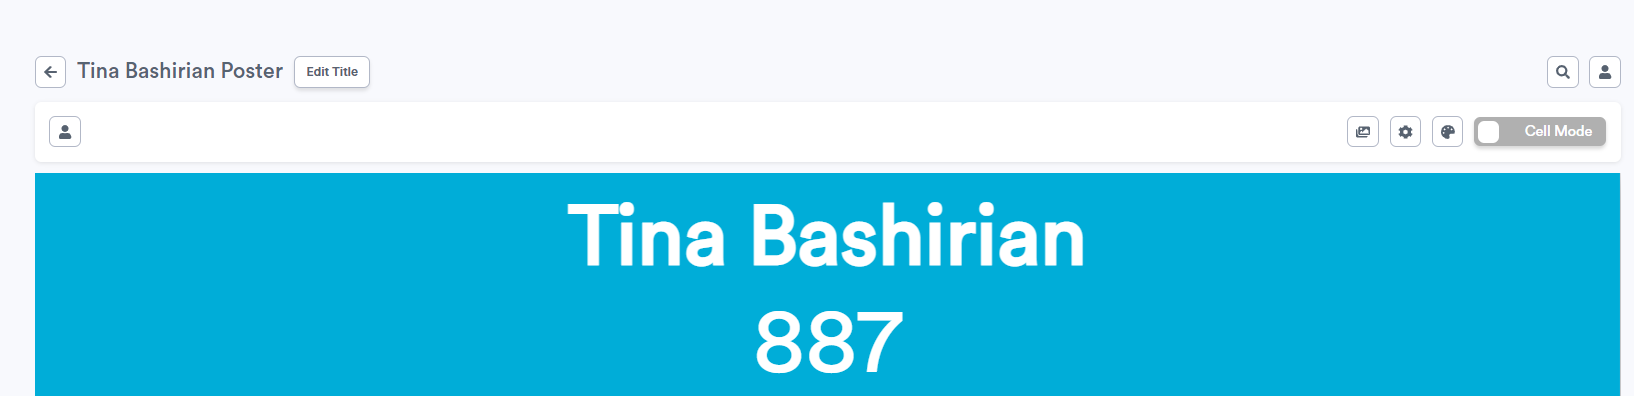
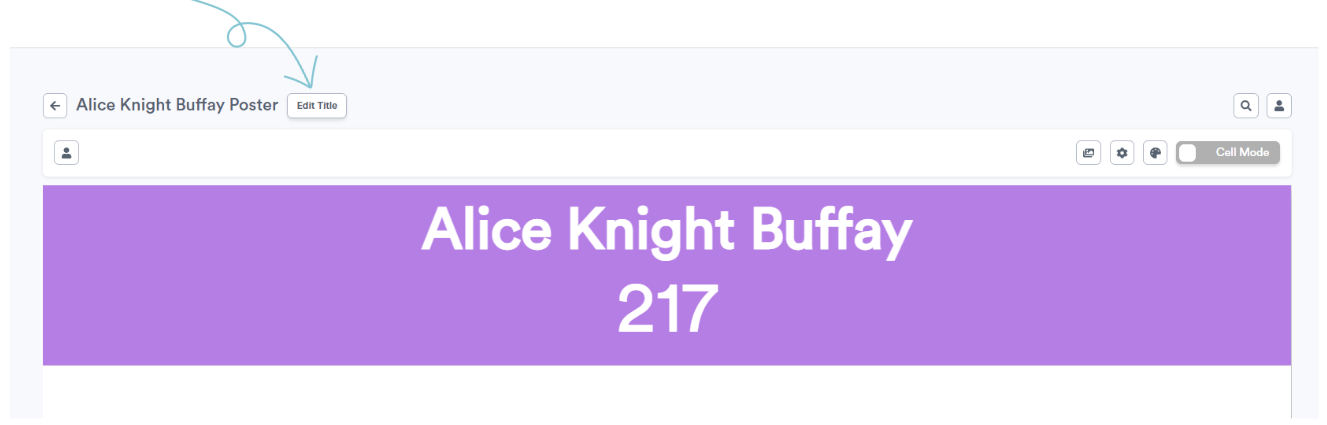
Each Resident Poster has an internal title so that they are easy to find when searching through your saved posters. Posters are given a default title ("[Resident Name] Poster"), but if you wish to edit the title further you can do so by clicking the “Edit Title” button at the top of the screen.
2. Poster Content
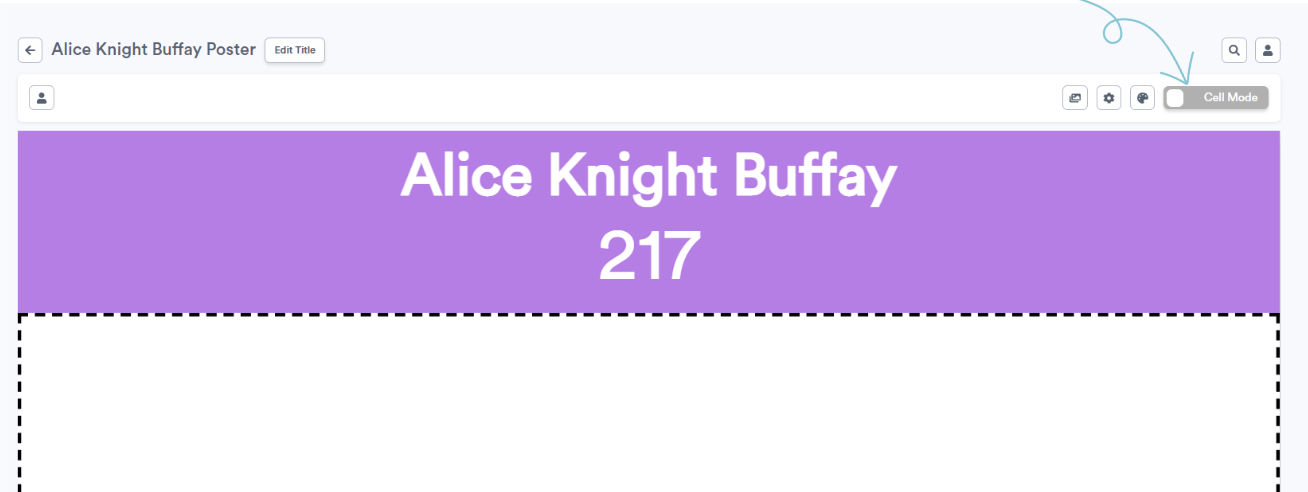
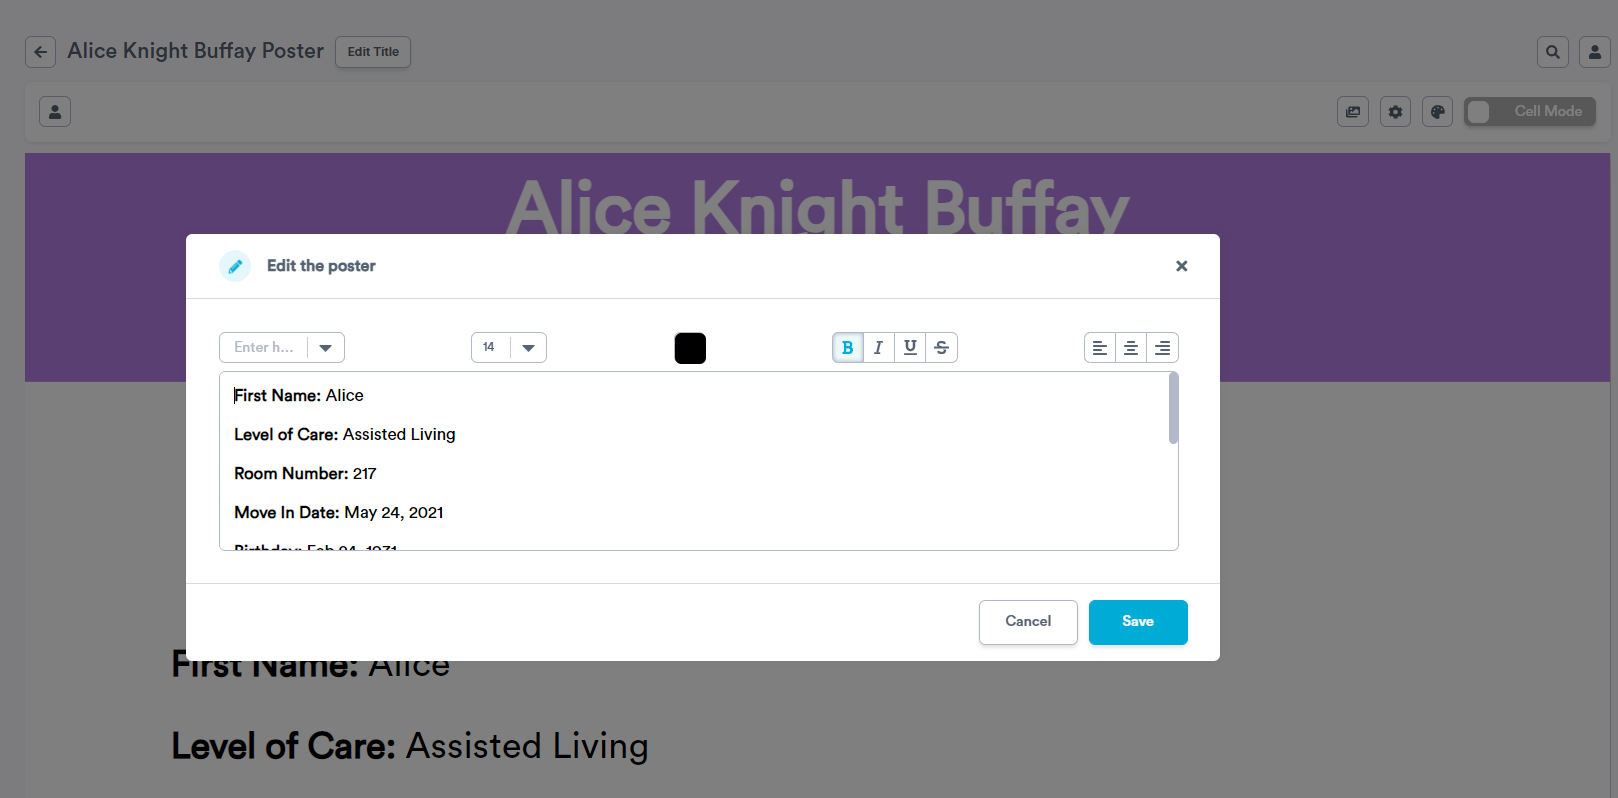
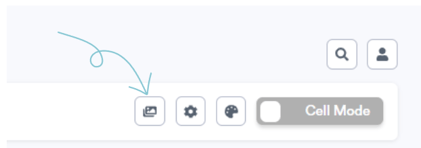
To edit or add content to the body of the Resident Poster, ensure you are in "Cell Mode" and click anywhere on the body of the poster.
A pop-up will appear where you can edit and format the text that appears on the poster. Make your desired changes and click the "Save" button in the bottom right corner of the pop-up.
3. Images
You can add two types of images to your Resident Posters:
- Free-floating images (which can be dragged-and-dropped to location on the poster)
- Images that are fitted to a cell on your poster (covered later in the "Cell Content" section of this article)
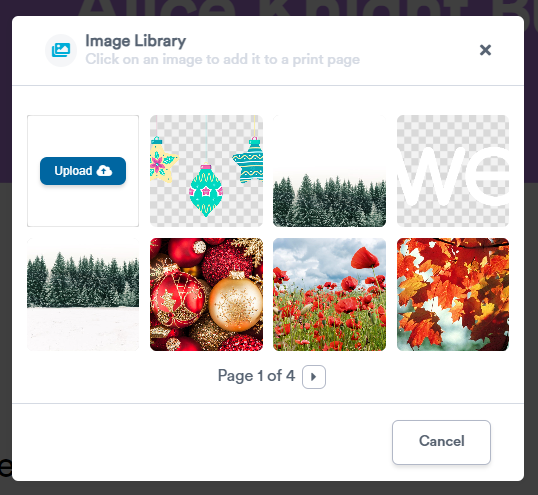
To add a Free-Floating Image, click on the “Images” button in the top right corner of the poster editor.
In the Image Library pop-up, select an existing image or use the “Upload” option to upload an image of your choosing from your computer.
In the Image Library pop-up, select an existing image or use the “Upload” option to upload an image of your choosing from your computer.
Once the image has been added, you can resize or drag-and-drop it to any location on your poster.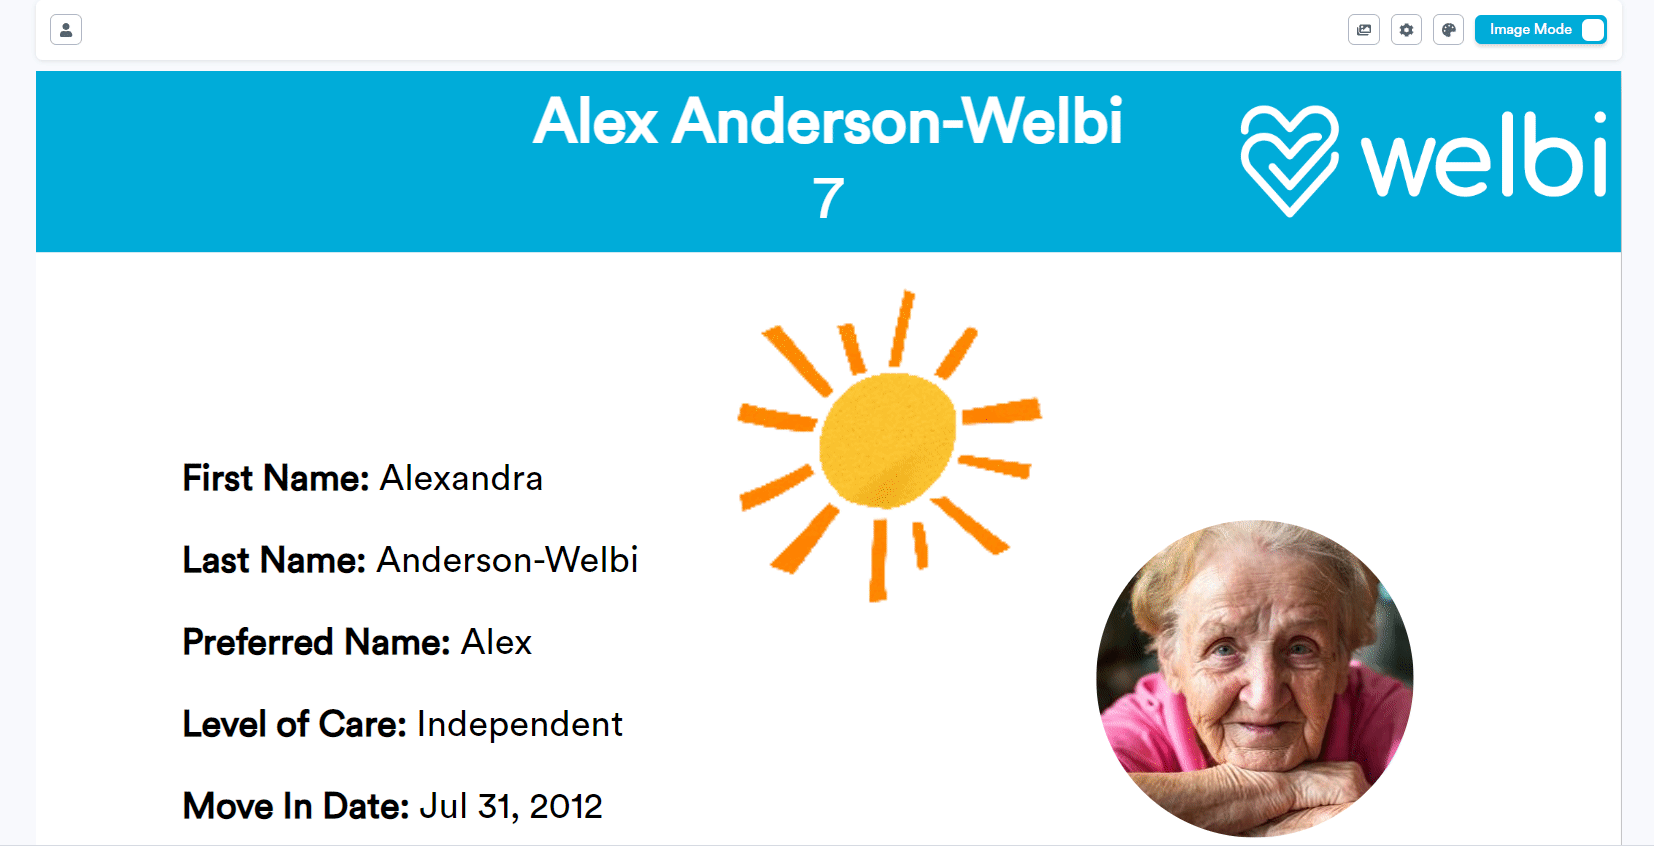
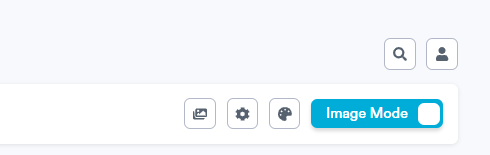
Note: Just like in the Print Calendar and Birthday Poster designers, you can only edit free-floating images while in "Image Mode".
4. Settings
Click the Settings icon shown in the screenshot below to modify the following:
- Page Size: Choose the size of paper on which you’d like to print.
- Vertically Centre Text: Choose the centering and spacing of the text on the poster.
- Display Profile Picture: Choose if you’d like the resident’s profile picture to show.
- Profile Picture Side: Choose whether the profile picture appears on the left or on the right.
- Profile Picture Size: Choose between small, medium, large or extra-large.

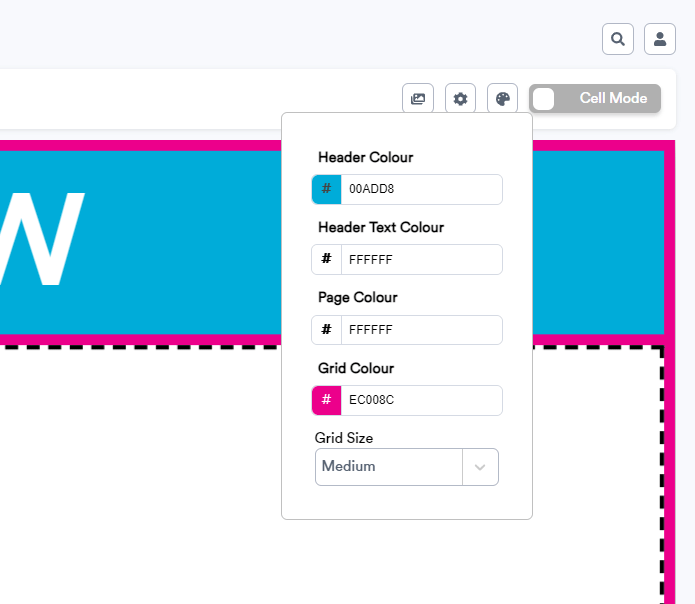
5. Colours
The colours for your Resident Poster can be modified under the "Colours" icon shown below:
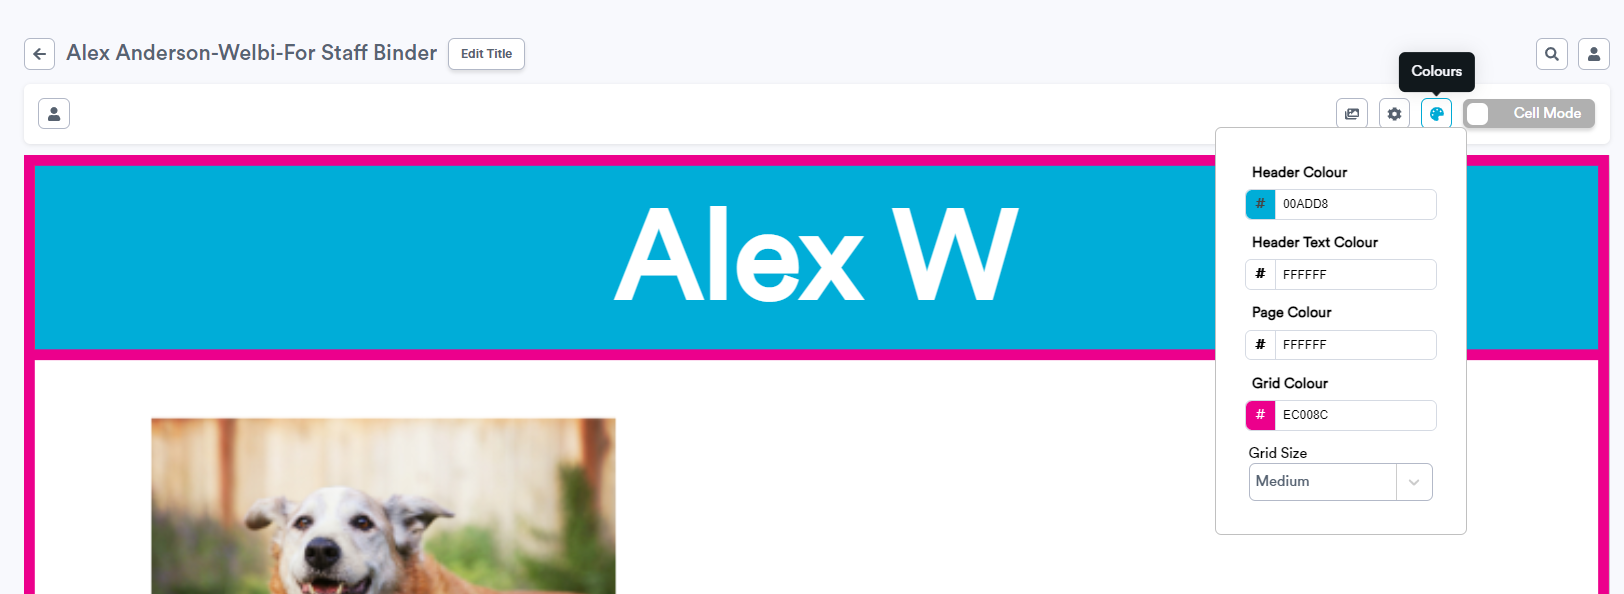
- Header Colour: The background colour for the header that runs along the top of the poster.
- Header Text Colour: The colour for the header text that runs along the top of the poster.
- Page Colour: The background colour for the body of the poster.
- Grid Size: Defaults to "None", but can be set to "Small", "Medium", or "Large" if you wish to have borders around your header and poster (shown in fuchsia in the screenshot above).
- Grid Colour: If you chose a Grid Size, this setting allows you to customize the colour of your poster's border.
Tip: If ever you can't find the colour you're looking for in Welbi's default colour palette, you can enter any colour code (HEX, RGB, etc.) of your choosing into the text box shown to the left of the colour swatch. You can find the colour code for any custom colour by doing an internet search (e.g., "Hex Colour Codes").
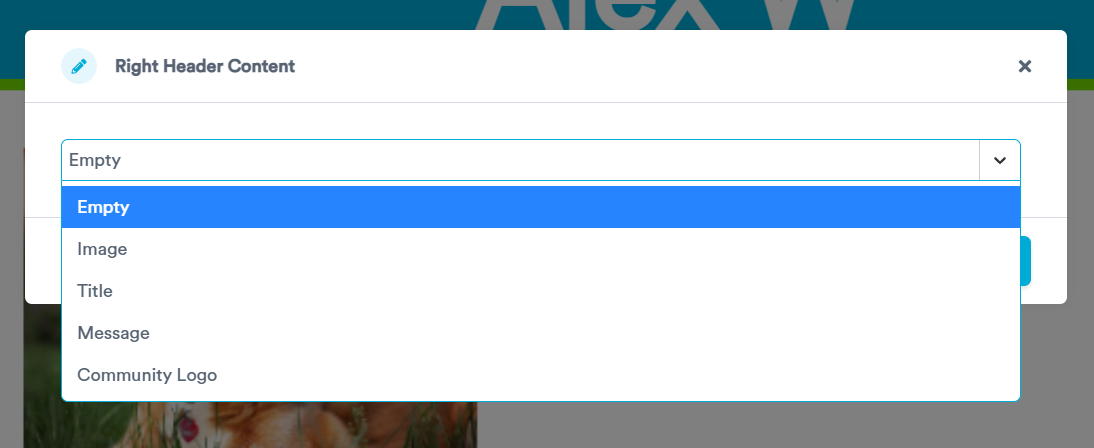
6. Cell Content
You'll notice your resident poster has 3 cells along the header and 3 cells along the footer.

If you wish to add or edit the content of one of these cells, ensure you are in "Cell Mode" and then click into the cell you wish to edit.
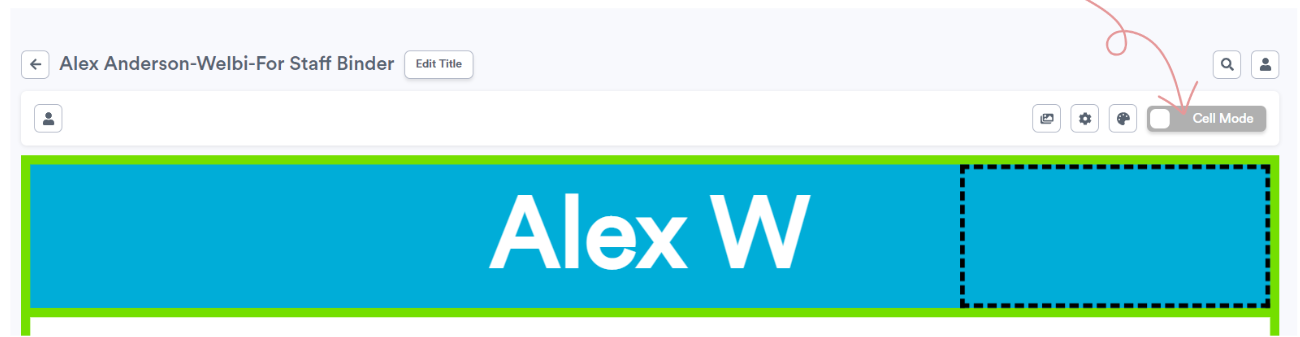
A pop-up window will appear where you can select the type of content you wish to insert into the cell and edit it as you see fit. You can add:
- An Image (if selected, you'll have the option to choose an image from your Image Library or upload a new image from your computer)
- A Title
- A Message
- Your Community Logo
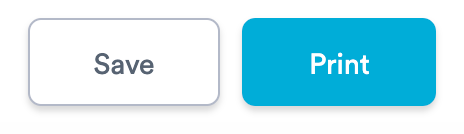
You can save your poster at any time by clicking the "Save" button in the bottom right corner of the screen. When you're ready to print, click the “Print” button in the bottom right of the screen (this will also save the latest version of the poster).