There are two ways to cancel a program, depending on where you are within the Welbi platform:
- If you are working in your Planning calendar, click into the program you wish to cancel and click the "Cancel Program" button in the pop-up window that appears.

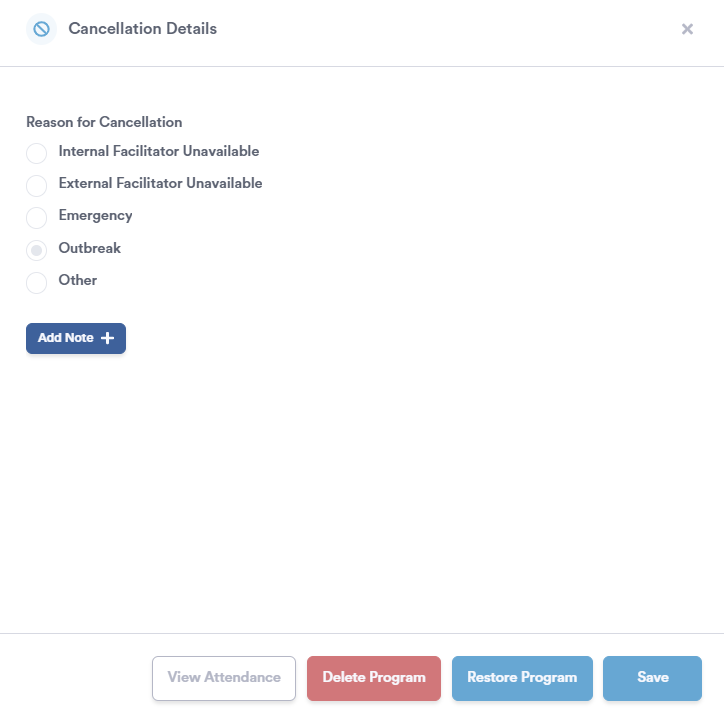
- If you are already on the attendance page for a program that you wish to cancel, simply click the "Cancel Program" button in the bottom right corner of the page.

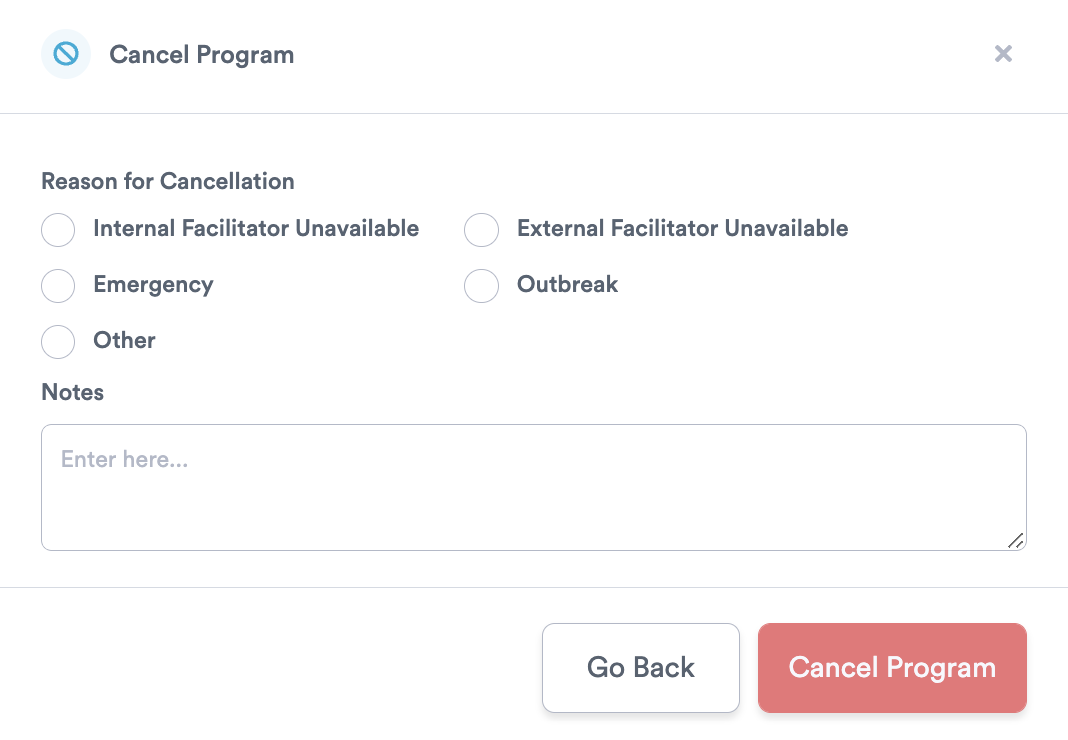
In either case, after clicking the "Cancel Program" button, you'll be presented with a pop-up window where you'll need to select the reason for program cancelation and enter notes as you see fit. When you're finished entering your details, click the "Cancel Program" button to complete the cancelation.
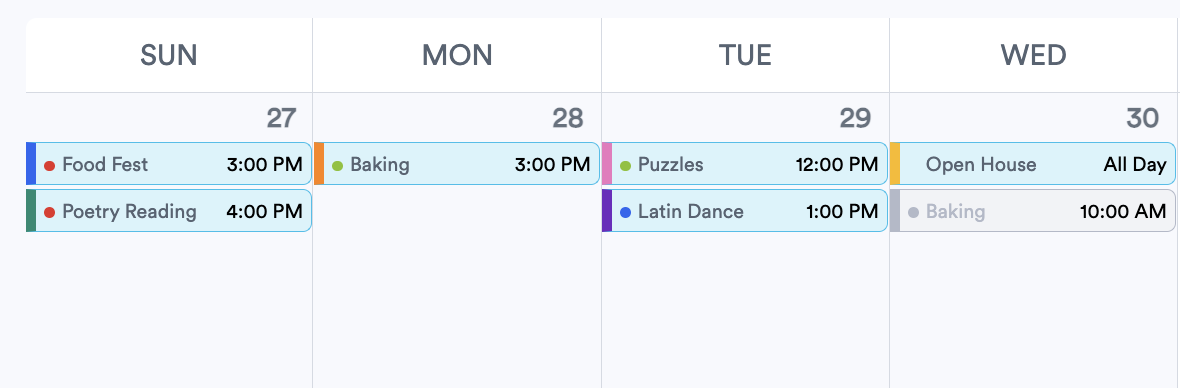
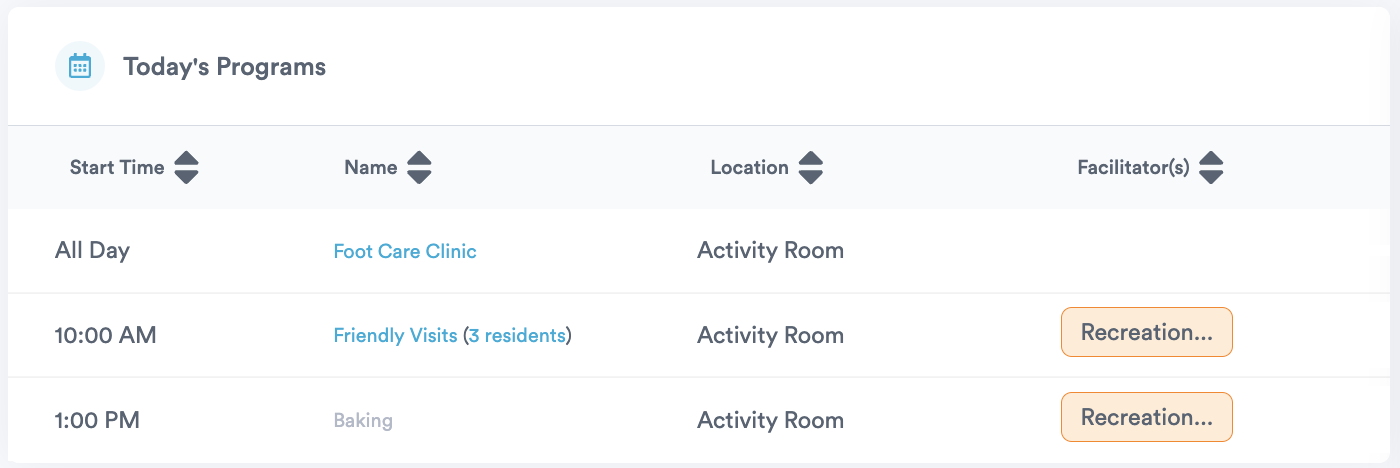
If the program previously appeared on your Planning Calendar, it will appear greyed out once your cancelation is complete. Canceled programs will also appear greyed out on your list of "Today's Programs" on the Overview page.
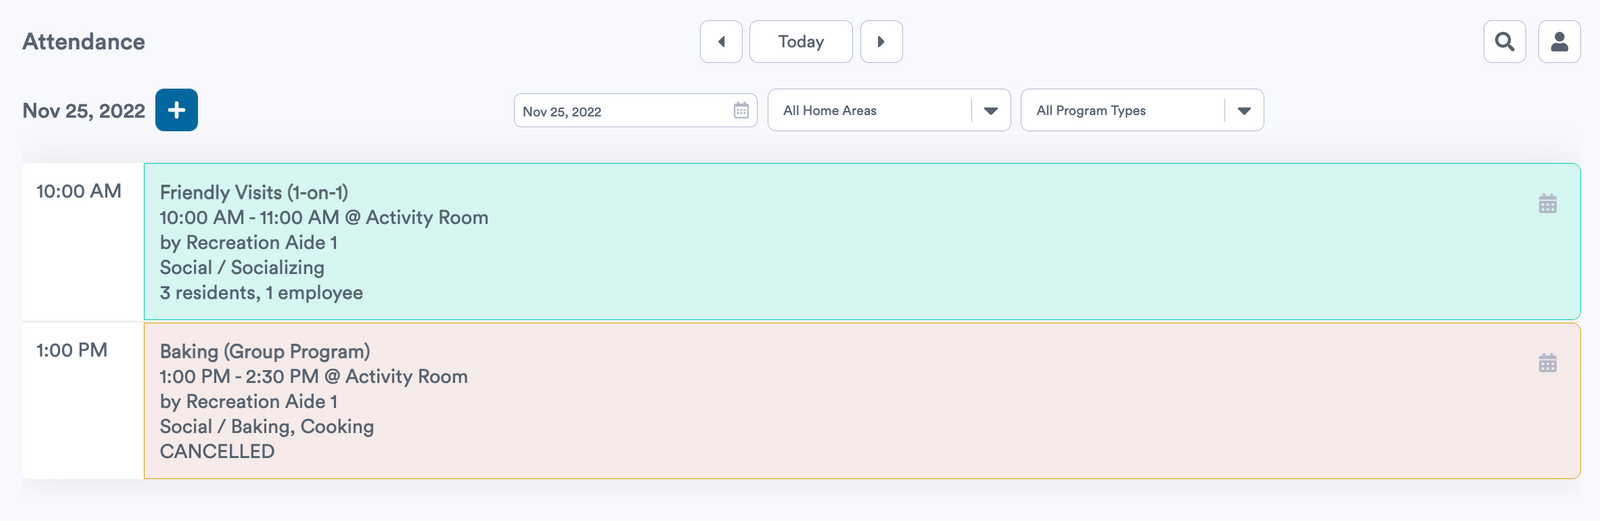
On your Attendance page, canceled programs will appear in red with the word 'CANCELED.'
If you ever need to restore a canceled program, you can do so by clicking into the canceled program and selecting "Restore Program." This will undo your program cancelation.