Understanding Image Mode and Cell Mode
Learn the difference between the Print Calendar Designer's two editing modes: Image Mode and Cell Mode.
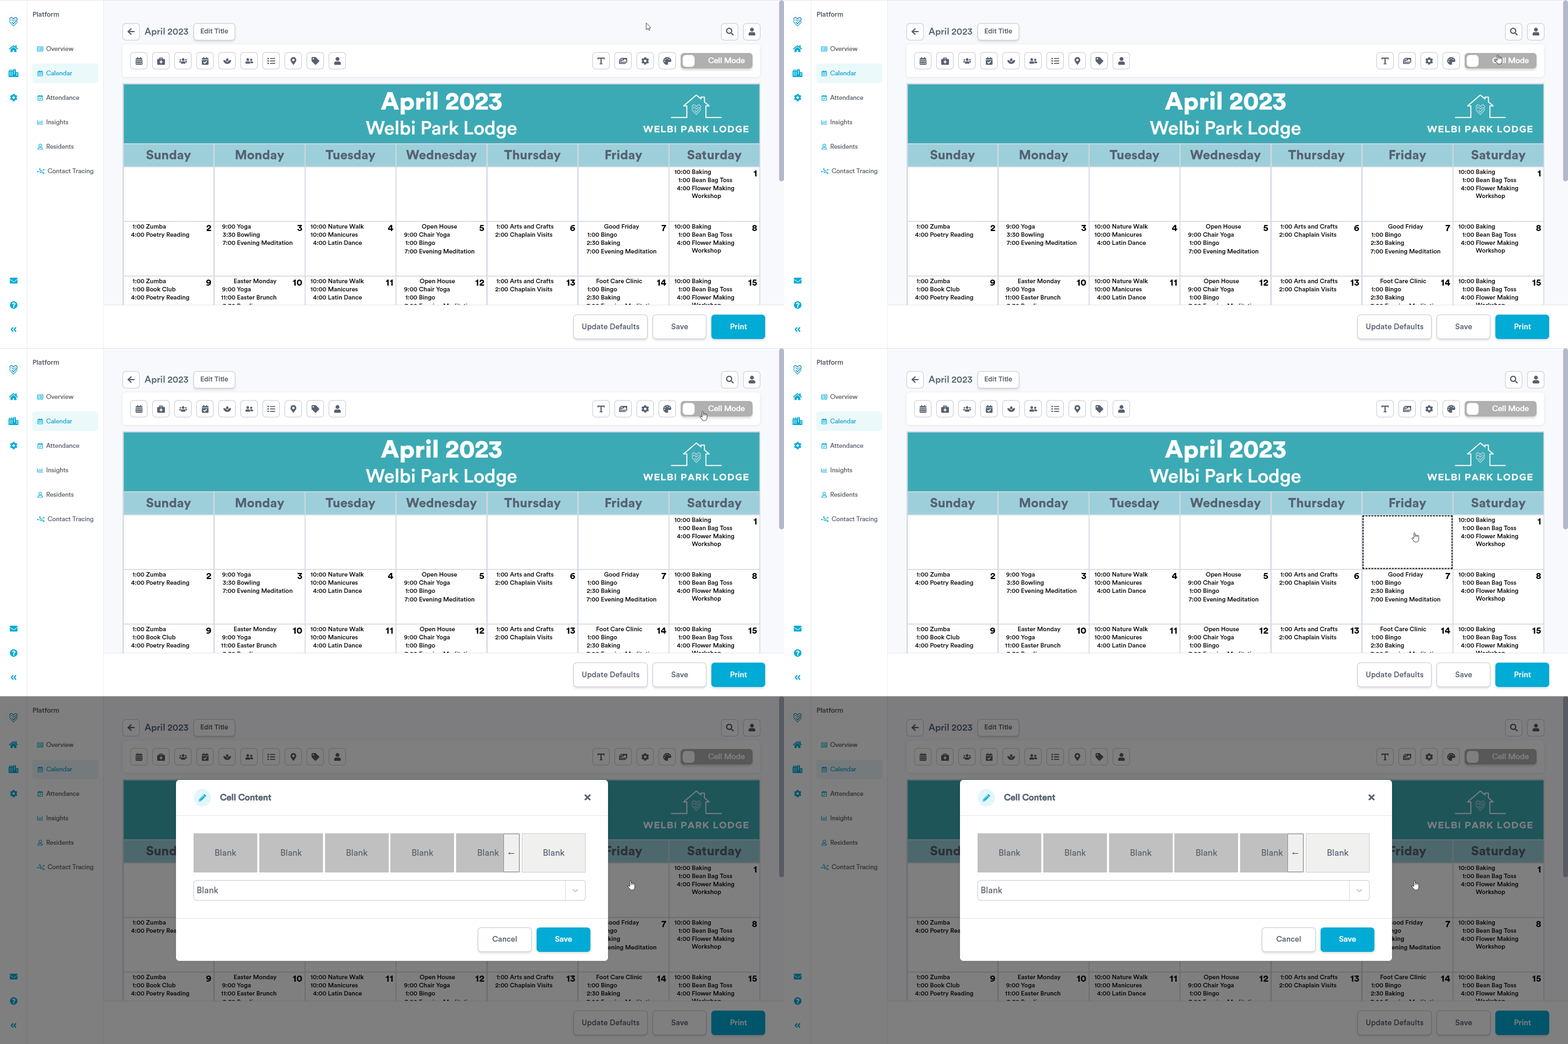
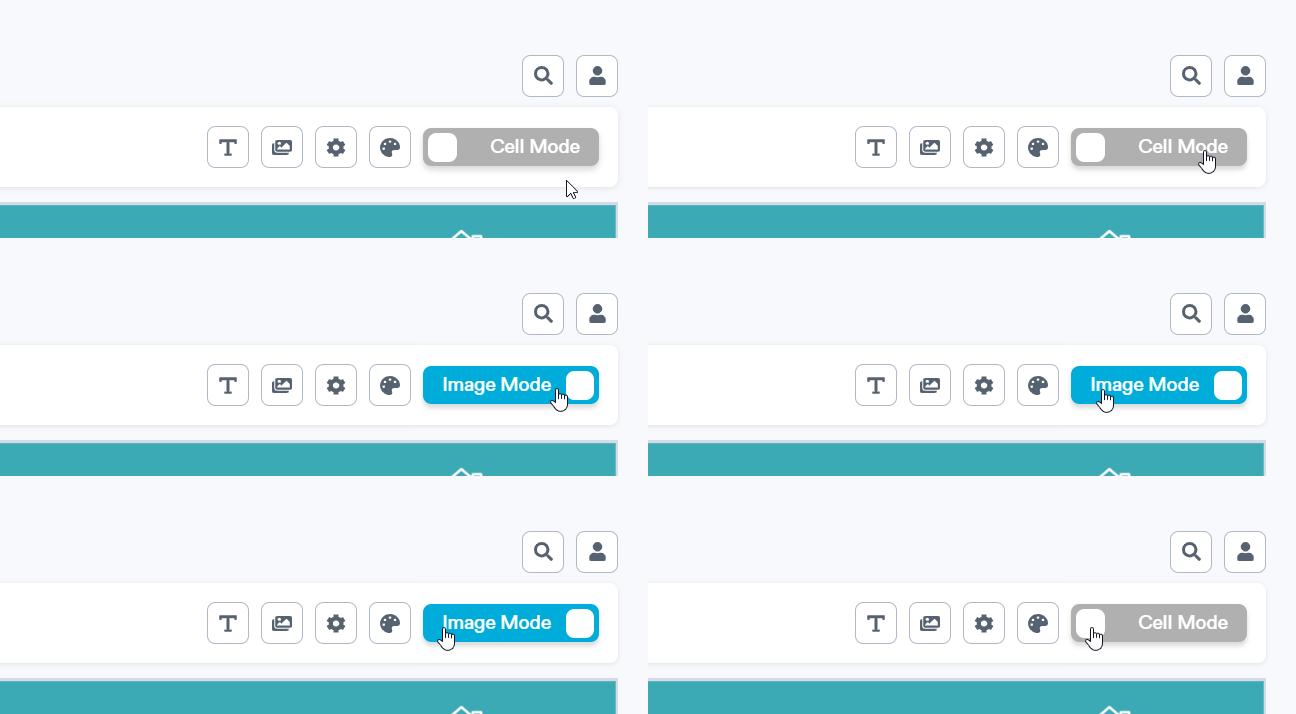
You can manually switch between Cell Mode and Image Mode at any time using the toggle in the top right corner of the Print Calendar Designer.
Cell Mode
To edit the content of a calendar cell, switch the toggle to Cell Mode. While in Cell Mode, you can select and modify the contents of your calendar cells (including empty cells, cells containing programs, or the cells that make up your header and footer), but you will not be able to select or modify any free-floating text boxes and images.

Image Mode
Any time you click on the Text or Images buttons to add free-floating text boxes or images to your print calendar, you will automatically be toggled into Image Mode. 
While in Image Mode, you can select and modify any of the free-floating text boxes or images on your calendar, but you will not be able to select or modify the content of your calendar cells.
.png?width=180&height=55&name=welbi_logo_colour%20(6).png)
